My Blinkies :)


Blog Trains for HODG


Creative Fabrica

Artist and Some stores


Sep 26, 2013

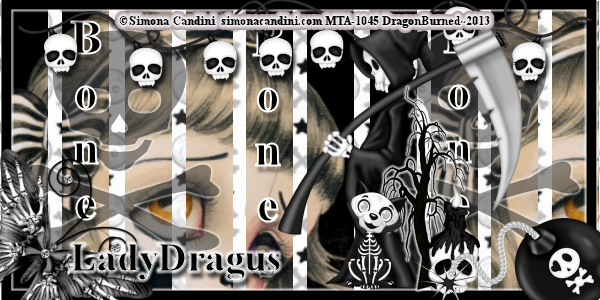
Gimmie Your Bones
Teddy Bear
This tutorial was
written by Me LadyDragus on September 26, 2013
Any resemblance to
another is not meant..
The ideas came to my
own head on my own time LOL.
I’m using a PTU scrap
kit by Irish Princess Designs
She sells at many
stores
You can find them all
I’m using the artwork
of Simona Candini
You need a license to
use this person’s artwork
You can find that
Here MyTubedArt ~MTA
You will need
EyeCandy 4000 to use Gradient Glow on parts of the tag…
I’m using a Template
Called Bones
You can download it
Here Bones
Unzip the template, I
forgot to put a copyright layer on the temp.. oops
Paper 3 flood fill
the Background layer on the FS-Temp
Click on Dead Lines
layer and flood fill with paper 2
Click on the skull
and cross bones layer add a gradient glow using EyeCandy 4000

You can leave the
opacity if you wish I am for now…
Go to the upper top
most layer
Open lights c/p pull the layer up to the top
of the tag add a default drop shadow on the lights
With these settings
Vertical 5
Horizontal 3
Opacity 75
Blur 5
Color black
Click on DeadLines
and flood fill that layer with the tube you should get a full head shot and
part of a second one on the right hand side of the tag…
Open Reaper c/p
re-size by 45% pull it to the right hand side of the tag in front of the word
Bones…
Tree c/p re-size by
35% add the above gradient glow settings to the element after re-size…
Skelkitty c/p re-size
by 20% pull to the left side of the tree…
Candle1 c/p re-size
by 20% pull it to the right hand side of the tree (you can add a sharpen to it
if you wish)
Bomb c/p re-size by
35% mirror the image and pull it to the lower right hand side of the tag…
Butterfly (with
skeleton hands) c/p rotate by 45° to the right, then re-size the element and
pull it to the lower left hand corner of the tag…
Word art, I used
Times New Roman on the words for the whole tag and avatar…
On the avatar
On Background layer
use paper3
On the Lines use
paper 2
On the Skull and
Crossbones add the same glow that we did on the tag…
Move the bottom of
the bones words over to the right hand side add a gradient glow to it, then
pull the border over above it
Take your tube and
re-size by 40% pull it to the bottom left hand side of tag.. Add the copyright
and your MTA# to the avatar with a letter on it.. Add a drop shadow to Raster
1…
Add your copyright
layer to the tag, and what ever saying you wish to use..
And your done…
Thank you LadyDragus…
Tags for Kate


Subscribe to:
Post Comments
(Atom)
Stores I Sell At
 All of my older kits are here
Kits and Clusters Sold Separately
All of my older kits are here
Kits and Clusters Sold Separately

Forums
These have my permission to use my FTU kit for challenges and Cluster Frames for the Forums


Blogs I follow

Creative Teams


0 comments:
Post a Comment
Thank you for reading my tutorials and snagging my snags. I design under House of Dragus Graphics by LadyDragus